Using the App
This document describes common use-cases and scenarios for this App utilizing the exposed SSoT jobs.
General Usage
This App can be used in three general ways.
- Onboard a device with basic information. (Name, Serial, Device Type, Management IP + Interface)
- Take existing devices and enhance the data for each device by syncing in more metadata. (Interface, VLANs, VRFs, Cabling, etc.)
- Both 1 and 2 in conjunction with each other.
Preparation
To properly onboard a device, a user needs to provide, at a minimum:
- The Device's Location
- The Device's primary IP address or DNS Name
- Selecting other attributes metadata needed. (Default statuses, roles, etc.)
Note
For DNS Name Resolution to work, the Celery instance of Nautobot must be able to resolve the name of the device to IP address.
If Platform, Device Type and/or Role are not provided, the plugin will try to identify this information automatically and, based on the settings, it can create them in Nautobot as needed. Optionally, a Tenant can be selected as part of the job inputs. When provided, the tenant will be assigned to newly onboarded devices during the sync process.
Note
The SSoT jobs use nornir-netmiko to run the show commands defined in the command mappers.
SSH Autodetect
The nautobot-device-onboarding apps Sync Devices job recognizes platform types with a Netmiko SSH Autodetect mechanism. The user may need to specify additional information for platforms where Netmiko's ssh_autodetect feature does not work.
Here is the list of platforms supported by ssh_autodetect.
For the platforms where SSH auto-detection does not work, the user will need to:
- Select the platform in the job inputs form.
IOS and Junos Auto-Created Platforms
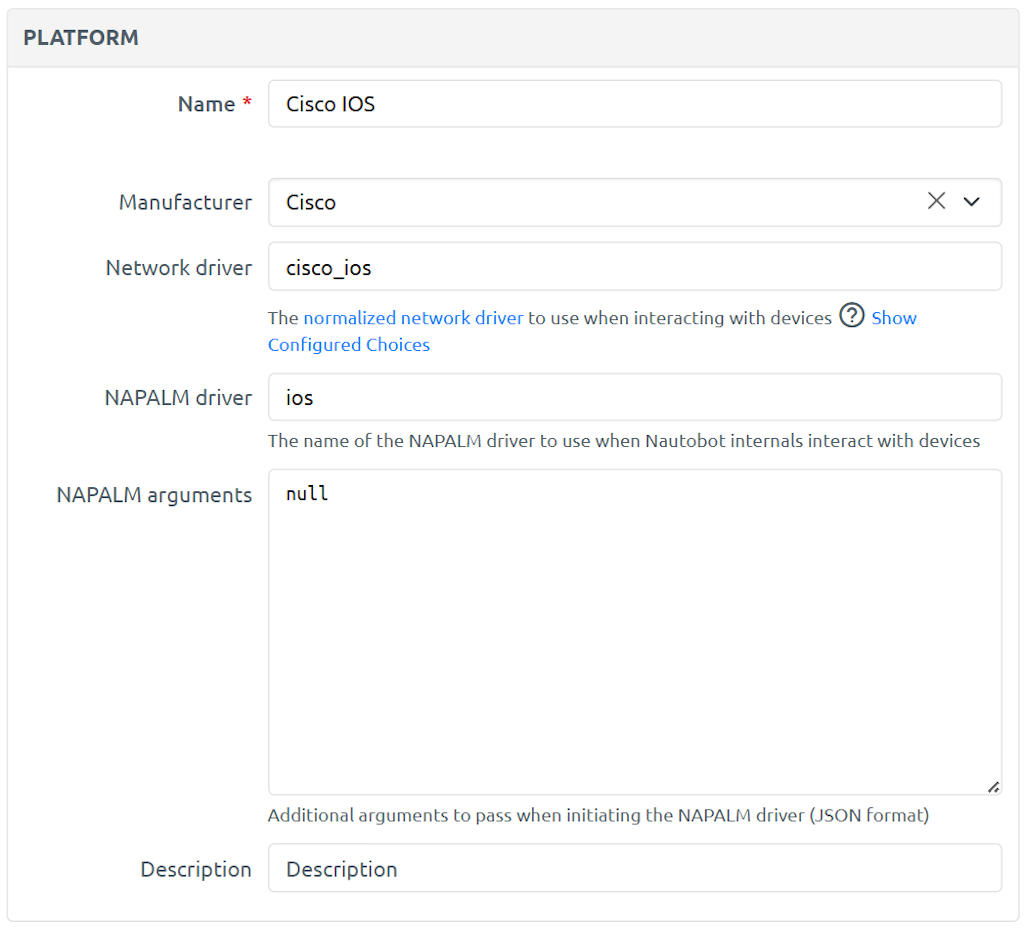
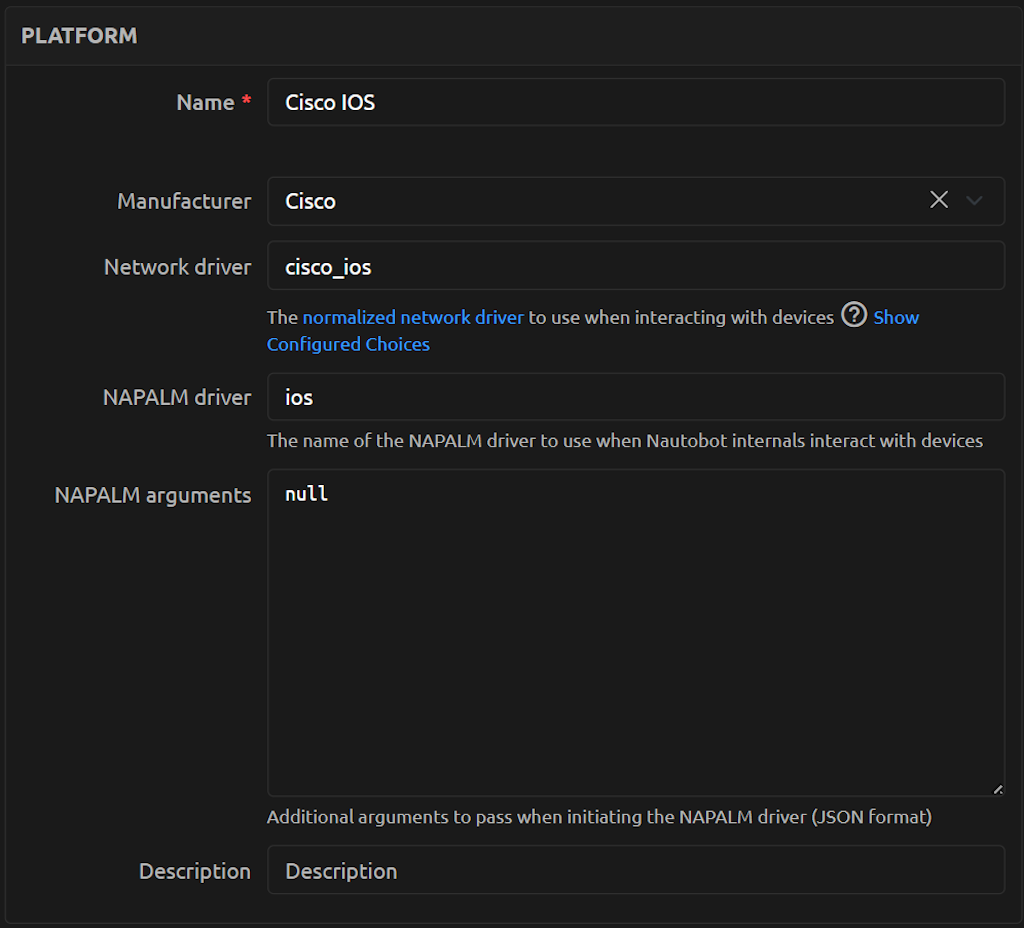
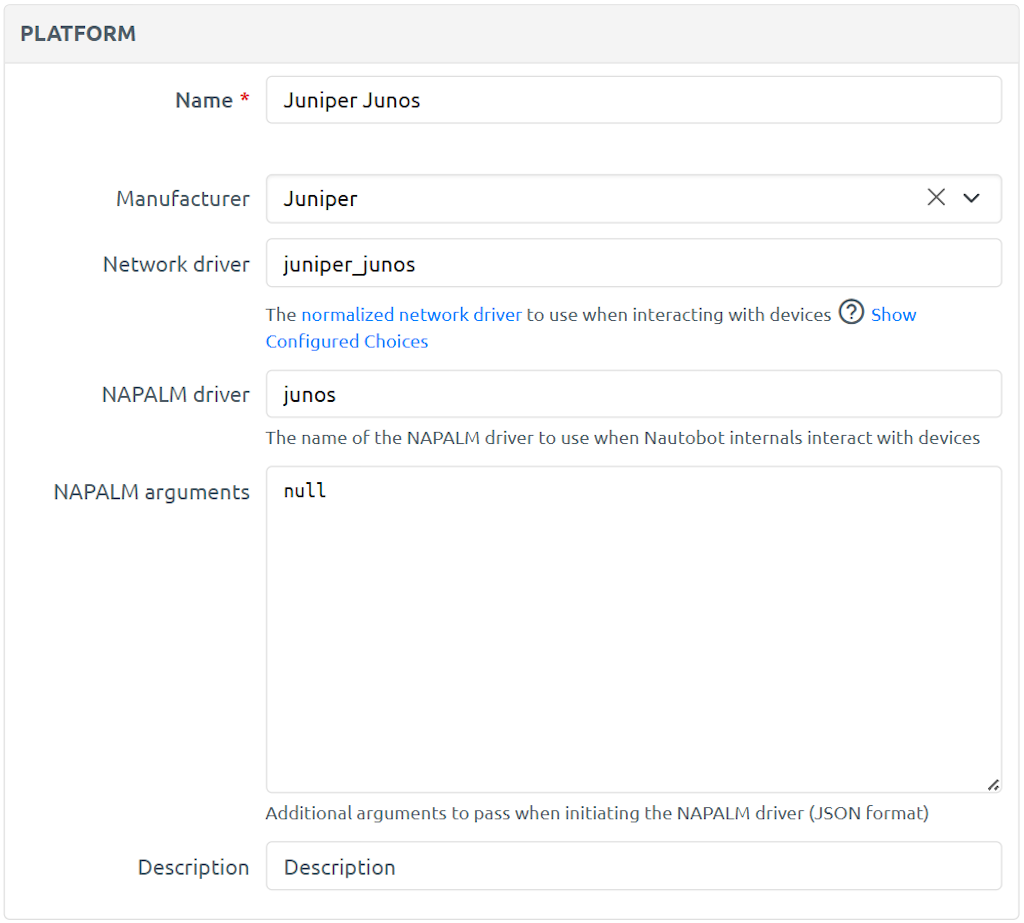
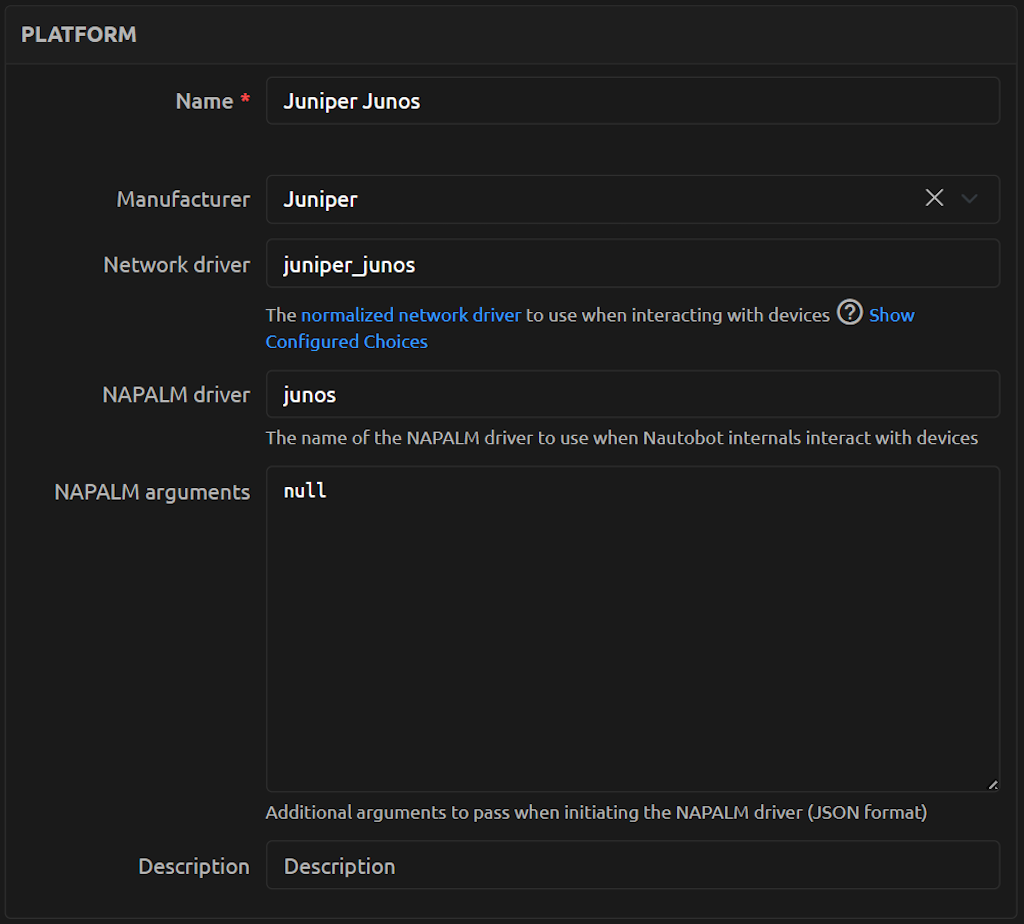
The Onboarding App will automatically create Platforms for vendor operating systems where platform auto-detection works. The picture below shows the details of auto-created Platforms for cisco_ios and juniper_junos.
Passing Custom Nornir Connection Options
Device Onboarding 4.0 uses Netmiko as the automation engine that queries the devices for information; more specifically, nornir-netmiko. To extend the device onboarding app to pass extras to the connection options the following can be added to nautobot_plugin_nornir PLUGIN_CONFIG.
PLUGINS_CONFIG = {
    "nautobot_device_onboarding": {},
    "nautobot_plugin_nornir": {
        "nornir_settings": {
            "... omitted ..."},
        "connection_options": {
            "netmiko": {
                "extras": {  # <==== passed into the connection setup.
                    "fast_cli": False,
                    "read_timeout_override": 30,
                },
            },
        },
    },
}
When the on-demand inventory is created for the Sync Device from Network job, the extras in the netmiko connection dictionary are added to the connection setup.
Using SSH PubKey Authentication
In the case where you want to use SSH Public Key authentication that can be accomplished by adding the additional arguments into Netmiko. This is done using the plugin configuration.
-
Create the ssh key on the Nautobot worker server/container.
-
Add the Netmiko Extras to the configuration.
PLUGINS_CONFIG = {
    "nautobot_device_onboarding": {},
    "nautobot_ssot": {
        "hide_example_jobs": True,
    },
    "nautobot_plugin_nornir": {
        "nornir_settings": {
            "credentials": "nautobot_plugin_nornir.plugins.credentials.nautobot_secrets.CredentialsNautobotSecrets",
            "runner": {
                "plugin": "threaded",
                "options": {
                    "num_workers": 20,
                },
            },
        },
        "connection_options": {
            "netmiko": {
                "extras": {
                    "use_keys": True,
                    "key_file": "/root/.ssh/id_rsa",
                    "disabled_algorithms": {"pubkeys": ["rsa-sha2-256", "rsa-sha2-512"]},
                },
            },
        },
    },
}
-
Make a secrets group in Nautobot which has the accurate
usernameto use along with the key specified in configuration above. -
Run the jobs and ssh public key authentication will be used.
Using SSH Proxy Jumphost
In the case where you want to use a SSH proxy jumphost, it can be accomplished by adding the additional arguments into Netmiko. This is done using the plugin configuration.
- Follow the standard Jumphost proxy setup to create the ssh_config file with the proper settings.
For example:
root@fcdc254e2a36:/source# cat /root/.ssh/config

host jumphost
  IdentitiesOnly yes
  IdentityFile ~/.ssh/id_rsa
  User ntc
  HostName 10.1.1.10

host * !jumphost
  User admin
  KexAlgorithms +diffie-hellman-group1-sha1,diffie-hellman-group14-sha1,diffie-hellman-group-exchange-sha1
  HostKeyAlgorithms +ssh-rsa
  ProxyCommand ssh -F /root/.ssh/config -W %h:%p jumphost
- Add the Netmiko Extras to the configuration.
PLUGINS_CONFIG = {
    "nautobot_device_onboarding": {},
    "nautobot_ssot": {
        "hide_example_jobs": True,
    },
    "nautobot_plugin_nornir": {
        "nornir_settings": {
            "credentials": "nautobot_plugin_nornir.plugins.credentials.nautobot_secrets.CredentialsNautobotSecrets",
            "runner": {
                "plugin": "threaded",
                "options": {
                    "num_workers": 20,
                },
            },
        },
        "connection_options": {
            "netmiko": {
                "extras": {
                    "ssh_config_file": "/root/.ssh/config",
                },
            },
        },
    },
}
- Run the jobs and the ssh config will be used and the connection will be proxied through the jumphost.
Use-cases and common workflows
Onboarding a Device
Onboard a New Device Using Sync Devices From Network Job
A new device can be onboarded via :
- A SSoT job execution using the
Sync Devices from Networkjob.- Via Jobs menu
- Via SSoT Dashboard
- API, via a
POSTto/api/extras/jobs/SSOTSyncDevices/runor/api/extras/jobs/{id}/run
Note
The SSoT Job's ID (UUID) will be different per Nautobot instance.
During a successful onboarding process, a new device will be created in Nautobot with its management interface and its primary IP assigned. The management interface will be discovered on the device based on the IP address provided.
This SSoT job supports a bulk CSV execution option to speed up this process.
Example CSV
ip_address_host,port,timeout,location_name,device_role_name,namespace,device_status_name,interface_status_name,ip_address_status_name,secrets_group_name,platform_name,set_mgmt_only,update_devices_without_primary_ip,
192.168.1.1,22,30,"Test Site",Onboarding,Global,Active,Active,Active,"test secret group",,False,True
Consult the Status of the Sync Network Devices SSoT Job
The status of onboarding jobs can be viewed via the UI (Jobs > Job Results) or retrieved via API (/api/extras/job-results/) with each process corresponding to an individual Job-Result object.
API
To run the SSoT Sync Devices Job via the api:
Post to /api/extras/jobs/SSOTSyncDevices/run/ with the relevant onboarding data:
curl -X "POST" <nautobot URL>/api/extras/jobs/SSOTSyncDevices/run/ -H "Content-Type: application/json" -H "Authorization: Token $NAUTOBOT_TOKEN" -d '{"data": {"location": "<valid location UUID>", "ip_address": "<reachable IP to onboard>", "port": 22, "timeout": 30}}
Required Fields: location: Location UUID ip_address: String of IP or CSV of IPs port: Integer timeout: Integer
Optional Fields: credentials: Secret Group UUID platform: Platform UUID role: Role UUID device_type: Device Type UUID continue_on_failure: Boolean
Onboarding Switch Stacks (Virtual Chassis)
The Sync Devices From Network job supports onboarding Cisco IOS and Cisco IOS-XE switch stacks as Nautobot Virtual Chassis objects. When a device is detected as part of a multi-member stack, the job will:
- Create a Virtual Chassis object named after the stack master's hostname
- Create Device objects for each stack member with the appropriate device type based on the module model
- Assign the correct
vc_positionandvc_priorityto each member - Set the stack master as the Virtual Chassis master (the master may be any member, not necessarily switch 1)
- Assign the management IP and interface only to the master device
- Only the master device receives the Secrets Group assignment
Master Identification by Serial
The stack master is identified by matching the chassis-level serial returned by show version against the per-member serials returned by show module. This correctly identifies the master even when the conductor is not switch 1 (e.g. after a master role move in a 4-member stack).
Stack Member Naming Convention
- The master device uses the hostname discovered from the device
- Member devices are named using the pattern
{hostname}:{member_number}(e.g.stack-switch-1:2,stack-switch-1:3)
Standalone Devices and Provisioned-But-Absent Slots
If a device returns stack information but only has a single member, it is onboarded as a regular standalone device without creating a Virtual Chassis. The same applies when a stack has provisioned but currently absent slots (e.g. a slot reserved for a future member): only the present members are onboarded, and a stack of one present member is treated as standalone.
Updating Devices Whose Serial Has Changed
By default, Sync Devices From Network and Sync Network Data From Network both require an exact match of both hostname and serial to identify an existing Nautobot Device. Devices whose discovered serial differs from the Nautobot record are skipped with a warning rather than having their serial silently rewritten.
This default is intentionally conservative — a hostname collision with a device of the same name in another part of the inventory should not result in that other device's data being overwritten. However, for Virtual Chassis the chassis-level serial reported by the master device legitimately changes when the master role moves between stack members. To allow those devices to keep syncing, enable the Update Devices With Changed Serial toggle on the job form.
When the toggle is ON:
- Matching falls back to hostname only
- Matching is scoped to the job's filter set (location, role, platform, devices), so a same-hostname collision outside the operator's selection cannot be touched
- The discovered serial is written to the matched Nautobot Device
When the toggle is OFF (default):
- Serial-drifted devices are excluded from
Sync Devicesat the queryset level - On
Sync Network Data, the same devices are also excluded from related-object loads (interfaces, VLANs, VRFs, IPs, cables), so their discovery data does not leak into Nautobot through other paths - A warning lists the excluded hostnames so operators can flip the toggle if drift was expected
Enabling Switch Stack Support for a New Platform
Cisco IOS and Cisco IOS-XE include the required virtual_chassis and modules definitions in their command mapper YAML files out of the box. To enable switch stack support for an additional platform, add the virtual_chassis and modules keys to the sync_devices section of the platform's command mapper YAML file. See App YAML Overrides for instructions on creating override files.
Example (Cisco IOS-XE):
sync_devices:
  # ... existing fields (hostname, serial, device_type, etc.) ...
  virtual_chassis:
    commands:
      - command: "show switch detail"
        parser: "textfsm"
        jpath: "[*].{switch: switch, priority: priority}"
  modules:
    commands:
      - command: "show module"
        parser: "textfsm"
        jpath: "[*].{model: model, serial: serial}"
Required Data Format
The commands must return data in a specific format for virtual chassis onboarding to work correctly:
-
virtual_chassis: Must return a list of objects with at least:switch: The member number in the stack (e.g. "1", "2", "3")priority: The stack priority value
-
modules: Must return a list of objects with at least:model: The device model/part number for each stack memberserial: The serial number for each stack member
The order of items in each list must correspond — index 0 in virtual_chassis matches index 0 in modules, and so on.
Devices That Don't Support Stack Commands
If a device does not support the configured stack commands (e.g. a Cisco CSR router receiving show switch detail), the command will return an error like % Invalid input detected at. The app detects this, treats the result as empty, and onboards the device as standalone — no error is raised and the sync continues normally. This means switch-stack support can be safely added to a platform's command mapper even if some devices of that platform type don't support stacking.
Onboarding Interface, Vlans, IPs Etc.
Enhance Existing Device
An existing device's data can be expanded to include additional objects by:
- A SSoT job execution.
- Via Jobs menu
- Via SSoT Dashboard
- API, via a
POSTto/api/extras/jobs/SSOTSyncNetworkData/runor/api/extras/jobs/{id}/run
Note
The SSoT Job's ID (UUID) will be different per Nautobot instance.
During a successful network data sync process, a devices related objects will be created in Nautobot with all interfaces, their IP addresses, and optionally VLANs, and VRFs.
Sync VRF to Prefix (Optional)
The Sync Network Data From Network job supports an optional Sync VRF to Prefix toggle that, when enabled, additively associates each interface's VRF with the parent prefix of the interface's IP addresses. This populates the ipam.Prefix.vrfs many-to-many relationship that the sync historically left unwritten.
This toggle requires Sync VRFs to also be enabled, since it depends on the VRF objects discovered by that path. The association is additive only — VRFs already linked to a prefix by other means are not removed.
Enable this toggle when your IPAM model relies on the Prefix.vrfs link being kept in sync from discovered configuration (e.g. when downstream automation reads Prefix.vrfs to scope IP allocations per VRF).
Consult the Status of the Sync Network Data SSoT Job
The status of onboarding jobs can be viewed via the UI (Jobs > Job Results) or retrieved via API (/api/extras/job-results/) with each process corresponding to an individual Job-Result object.
API
To run the SSoT Sync Network Data Job via the api:
Post to /api/extras/jobs/SSOTSyncNetworkData/run/ with the relevant onboarding data:
curl -X "POST" <nautobot URL>/api/extras/jobs/SSOTSyncNetworkData/run/ -H "Content-Type: application/json" -H "Authorization: Token $NAUTOBOT_TOKEN" -d '{"data": {"devices": "<valid devices UUID>"}
Required Fields: devices: Location UUID
Using Git(Datasources) to Override the Apps Defaults
YAML Overrides
By utilizing the Nautobot core feature Datasource the command mappers, jpaths, post_processors for each platform can be overridden. This also gives an easy way for a user to add platform support without having to get those fixes directly upstreamed into this application.
The format of these YAML files are and how to extend this application is covered in App YAML Overrides.
Parser Templates
As this App continues to mature, support has been added to support TTP; with this addition the ability to add and/or override templates was required. This follows a similar pattern to the YAML overrides.
TTP Parser Extensions
Info
To avoid overly complicating the merge logic, the App will always prefer the template files loaded in from the git repository.
File structure:
.
├── README.md
└── onboarding_command_mappers
    └── parsers
        └── ttp
            └── <network_driver>_<command seperated by underscores>.ttp
When loading from a Git Repository this App is expecting a root directory called onboarding_command_mappers. Parser files should be located in a parsers directory followed by one additional directory; e.g., ttp. The template file names must be named <network_driver>_<command_seperated_by_underscores>.ttp.
Textfsm Parser Extensions
Info
To avoid overly complicating the merge logic, the App will always prefer the template files loaded in from the git repository. If a template isn't found in the git repository it will fallback to using native ntc-templates directory.
File structure:
.
├── README.md
└── onboarding_command_mappers
    └── parsers
        └── textfsm
            └── <network_driver>_<command seperated by underscores>.textfsm
            └── index
Warn
The repository must have an index file as is always expected with textfsm.
When loading from a Git Repository this App is expecting a root directory called onboarding_command_mappers. Parser files should be located in a parsers directory followed by one additional directory; e.g., textfsm. The template file names must be named <network_driver>_<command_seperated_by_underscores>.ttp and the index file must exist and must be defined appropriately.
For example:
Where index file is: